


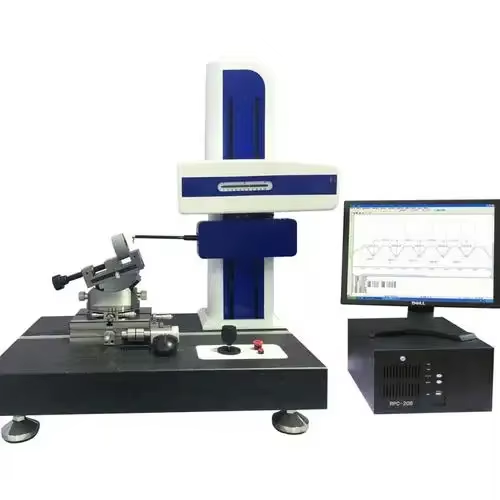
Seeing Roughness Without a Stylus
For decades, measuring surface roughness meant dragging a diamond stylus across the part, feeling every peak and valley, and hoping you did not scratch something delicate in the process. Contact profilometers are still the gold standard in many shops, but they have limits. They are slow, they touch the surface, and they struggle with soft materials, sticky coatings, or extremely fine finishes. That is where the optical surface roughness tester comes in. Instead of dragging a needle across a surface, it uses light to map the texture, and it can do it fast without ever touching the part.
The Core Principle, Light Interference
The most common type of optical surface roughness tester is built around interferometry. Here is the basic idea. A beam of light gets split into two paths. One beam bounces off a perfectly smooth reference mirror inside the instrument. The other beam goes down through the objective lens, hits the test surface, and reflects back up. When those two beams recombine, they interfere with each other. If the test surface is perfectly flat, the interference pattern is uniform. If the test surface has peaks and valleys, those tiny height differences change the distance the light travels, creating a pattern of bright and dark fringes that looks like a topographic map. The software then decodes this fringe pattern and converts it into a high resolution 3D map of the surface texture.
Confocal and Focus Variation Techniques
Interferometry is not the only game in town. Another approach used in an optical surface roughness tester is confocal microscopy or focus variation. In these systems, light passes through a tiny pinhole or a set of micro mirrors. The instrument scans vertically through focus, taking images at many different heights. At each pixel, the software determines the exact height where that spot was in sharpest focus. Stack all those in focus heights together, and you get a detailed 3D reconstruction of the surface. This method is especially good for surfaces with steep slopes or rough textures that might confuse an interferometer. Both methods share one crucial advantage: they gather millions of data points in seconds, giving you a statistical picture of roughness parameters like Ra, Rz, and Sa across a whole area instead of a single line trace.
Why Non Contact Changes the Inspection Game
The non contact nature of an optical surface roughness tester opens up applications that contact stylus instruments simply cannot handle. Think of soft polymers, biomedical coatings, adhesive films, or freshly painted surfaces. A stylus would dig in and destroy the texture you are trying to measure. Light, by contrast, bounces off without leaving a trace. You can also measure inside small features, like the bottom of a microfluidic channel or the flank of a tiny gear tooth, places where a physical stylus tip simply cannot physically reach. And because there is no mechanical scanning motion across the surface, measurement speeds are dramatically faster. An area scan that might take a stylus instrument several minutes to trace line by line can be captured by an optical system in a few seconds.
What Parameters the Data Gives You
Once the optical surface roughness tester has captured the 3D surface data, the software calculates a whole family of parameters. Most people start with the familiar 2D roughness values like Ra and Rz, which the software derives by pulling virtual profile lines through the 3D dataset. But the real power of optical measurement is in areal parameters defined by the ISO 25178 standard. Parameters like Sa give you the area equivalent of Ra, while Sdq tells you about surface slope, Sdr describes the developed interfacial area ratio, and Svk, Spk, and Sk break down the core roughness, reduced peaks, and valleys for bearing ratio analysis. This depth of information is invaluable for understanding not just how rough a surface feels, but how it will perform in sealing, lubrication, adhesion, and wear.
Practical Considerations for Real Parts
Like any technology, optical surface roughness testers have their practical boundaries. Highly reflective surfaces can sometimes cause issues, though modern systems handle most of them with clever illumination strategies. Transparent materials need careful setup because the light can penetrate and reflect from subsurface layers. Very rough surfaces with extreme slopes may exceed the optical acceptance angle of the objective lens. Understanding these limitations helps you pick the right objective, the right field of view, and the right measurement mode for your specific parts. When used appropriately, the data quality and speed are remarkably impressive. And for many applications where a contact stylus is simply too slow or too invasive, an optical surface roughness tester is not just an alternative, it is the only practical solution.